

September
Hey everyone! It's been a while, but we're back with a big update, and there's so much to share!
This update is packed with features, including improvements to the editor, updates to prefabs, UI enhancements, signals, documentation, graphics, C#, and more!
There’s a lot to cover, so please bear with me as I try to summarize complex features in a digestible manner.
New Documentation
I used to have this old documentation that hasn't been updated in 2 years. We now have this fresh new website that is much nicer to use and maintain. You can access the new documentation in the navbar.

Editor improvements
The editor is continuously getting updates. Whether it's new features or UI enhancements, my goal is to keep the editor closely aligned with the engine's API and features.

The new editor
The most striking change is the custom title bar, which gives the editor a much more polished and professional appearance. (yes, this is all done using dear imgui).
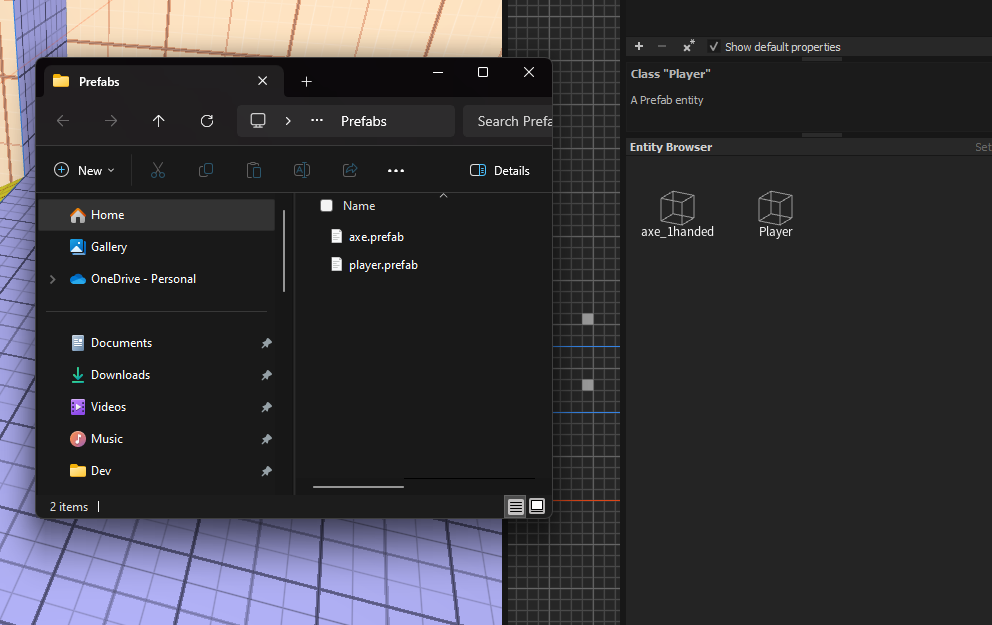
Prefab Editor
It was possible to create a prefab from any entity, but it wasn’t possible to edit them without instancing the prefab, and overwriting the previous .prefab file. Clunky!
Not anymore! You can now open any prefab in its own dedicated editor context, and edit it directly, just like you would with a scene. Plus, when you save your changes, they’ll automatically propagate to all instances of that prefab in your current scene.
Live-reload
Almost all resources now support live-reloading, including the file browser window. With the addition of a proper file watcher, everything stays responsive and perfectly in sync. This means that mapping in Trenchbroom now feels nearly instant and seamless.
Environment Window
The environment window is officially a thing of the past! 🎉 Environments are now handled as separate resources (saved as .env files), and a new EnvironmentComponent has been added.
This component only has a single field where you can drop an environment resource. If your scene doesn’t include an EnvironmentComponent, the engine will automatically apply a default one.
This change means you can now have unique rendering settings for different scenes. Not only is the editor less cluttered, but it’s also more flexible. A double win! 🥳

Search
After months of having the search box visible but unused, it’s finally implemented and fully functional.
The search highlight is using the project's accent color
Better gizmos
I’ve updated the icons and improved their behavior regarding scaling. Whenever you get close to the gizmos, they will scale down to keep a constant size in the viewport.
You can customize the gizmo's size in the project settings
Camera Frustum
The camera frustums are now visible in the viewport and a camera preview screen is now visible when you have a camera selected. This also means that Nuake can now render the same scene from different perspective at the same time. For now, since this is pretty resource intensive, the option is disabled. You can enable it in the toolbar under View→Show Camera Preview.

Project manager improvements
The project manager has received some quality-of-life updates.
- Remove Projects: You can now remove projects from the list by simply right-clicking on them.
- Drag and Drop: Adding projects is easier than ever—just drag and drop
.projectfiles directly into the window. - File Association: You can now open
.projectfiles directly with the editor, and the project will load automatically. If you choose to associate Nuake with the.projectfile extension, it’ll work seamlessly.
Skyboxes
Gone are the days of being limited by a basic procedural atmosphere or a simple solid color. You can now import skyboxes into your scenes. Currently, only regular six-face textures are supported, but there are plans to add HDRI skyboxes in the future. In fact, Nuake used to support HDRI skyboxes along with IBL, and the code is still there. I just need to expose it in the editor.

Trenchbroom
This is a significant update, so it deserves a bit more attention. I’ve written detailed documentation with examples and in-depth explanations, but here’s a quick overview of the core concept.
The goal of this feature is to provide a seamless workflow between Nuake and Trenchbroom. In practice, you’ll be able to create your game logic and entities in Nuake, and then use those entities to build your levels in Trenchbroom—much like how the old Hammer editor worked with the Source Engine.
There are three ways to expose entities to Trenchbroom:
Prefab
By default, any prefab in your project will be automatically exposed to Trenchbroom and appear in the Entities tab. While there’s no preview of the prefab itself just yet. You will be able to manually add a model as a preview if you’d like, but it’s not required. Eventually, the AABB preview will be to scale in Trenchbroom itself.
Prefabs present in the project's directory are automatically exported to Trenchbroom
Point Entities
Point entities are defined in your C# solution by adding an attribute above your entity script. To expose parameters to Trenchbroom and the editor, simply use the Exposed() attribute above your fields.
Additionally, point entities come with an Activate function that you can override to customize their behavior when they receive a signal. This system works similarly to Quake’s target/targetname system or Hammer’s I/O system.
using Nuake.Net;

namespace MyGame
{
   [PointScript("This relays a signal to its targets.")]
   class Relay : Entity
   {
       public override void Activate(Entity triggeredFrom)
       {
           foreach(Entity target in Targets)
           {
               target.Activate(triggeredFrom); // relay the original invoker
           }
       }
   }
}
3. Brush Entities
Brush entities are defined in much the same way as point entities, but the key difference is that they are applied directly to brushes. You can use brush entities to create interactive elements like moving doors, triggers, damage zones, and more. They’re essentially entities with a defined space in the world.
using Nuake.Net;

namespace MyGame
{
   // The second parameter is if you want your brush to be a trigger
   [BrushScript("A simple door", false)]
   class Door : Entity
   {
       public override void Activate(Entity triggeredFrom)
       {
           OpenDoor();
       }
   }
}
Signals
The signal system is a powerful way to create dynamic logic in your levels without having to program custom systems each time you want interactive elements.
Here’s a simple overview:
Each entity has Targets. In Trenchbroom, you can assign a targetname to any entity and set a target on others.
For example, if you want a trigger to activate a door, you would set the target of your trigger to door_1. Then, on your door brush, you’d set the targetname to door_1. This links the trigger to the door, making it so that activating the trigger activates the door.
In your Trigger.cs script, you’d create an Activate function to trigger the activation of its target. You can extend this logic further by adding a delay point entity that forwards the signal after a set time.
If you’re familiar with the Quake entity system, this should sound very familiar—it’s the same core concept, but now you have the power to extend and customize it with C#.
In action
I’ve been experimenting with the system, trying to recreate some of the mechanics you typically see in games nowadays and it’s been a lot of fun.
Technically, it’s a Turing-complete system. You can create entities that relay signals to other entities. If you expose the typical OR, AND, NOT gates, you can program complex behaviors directly within the level editor.
Here I was making some blocks move and switch position every couple of seconds. You can also see the links between entities in the editor.

The signal chain visible in Trenchbroom
The signal chain in Nuake
Currently, the process of exporting entities to Trenchbroom happens whenever Nuake reloads your C# DLL, which typically occurs when you press Play in the editor. However, in the future, I’d like to improve this by having the export trigger automatically whenever the DLL is recompiled. This will create a more seamless and transparent workflow for you.
Renderer improvements
One of the areas that I feel is still lacking in Nuake is the renderer. For a while now, I’ve been planning to transition the renderer to Vulkan. I used this as a reason to hold off on improving the current rendering system, but I also extended this excuse to other renderer-agnostic tasks, like post-processing effects.
Velocity buffer
I plan to implement per-object motion blur, because I believe motion blur can be done tastefully when applied selectively. For instance, having motion blur on the wheels of a vehicle but not on the main camera, similar to what you see in Death Stranding.
Before I can implement motion blur, however, there’s an essential step: creating a velocity buffer. This is essentially a texture that stores the velocity of every pixel on the screen, capturing the movement between the current frame and the previous one.
It looks a bit like this:
Each pixel stores the Velocity of the previous frame
TAA
The velocity buffer isn’t only useful for motion blur. It’s an important piece for many different techniques, such as TAA for example. Despite some of the criticism surrounding temporal techniques, TAA is one of the most cost-effective and effective antialiasing methods we currently have. When implemented well, TAA is almost imperceptible, but a poor implementation can lead to noticeable artifacts and unwanted blurring, which can be jarring.
The main goal isn’t to force everyone to use TAA, but rather to provide a simple antialiasing solution leveraging the velocity buffer. Since TAA was the simplest and most straightforward solution to implement, I opted for that. However, if you prefer, you can completely disable TAA in the environment settings.

Left: Disabled - Right: Enabled
SSAO
I’ve also made significant improvements to the SSAO. Previously, it had some noticeable artifacts under certain conditions and didn’t look great overall. However, It’s now much more stable and looks pretty nice! It’s also configurable in your scene environment.

You can preview the SSAO pass by selecting the viewport output in the top right

A pretty scene with the new SSAO
Depth of Field
I’ve simplified the parameters for the depth of field effect greatly. It should now be a lot more accessible and intuitive to tweak. The C# API also exposes a way to dynamically control the focus point. It should also be more in line with the unit system of Nuake.
// Focus on the player
Vector3 playerPos = player.Transform.LocalPosition;
Vector3 camPos = Transform.LocalPosition;
float focusDistance = Vector3.Distance(playerPos, camPos);
Nuake.Net.Environment.SetFocusDistance(focusDistance);
The Display focus toggle allows you to visualize the focus distance, focus distance and focus fade.
Lens Dirt
It’s now possible to add a lens dirt texture to the bloom. It will scale the intensity of the bloom with the luminance of this texture.
Posterization
You can now use a new posterization effect in your environment settings. This compresses your color into a limited amount of colors. You can configure how many levels of color compression you want. This is useful if you’re going for a more grungy and retro look for your games.
Pixelization
In the same direction, I also added a pixelization shader. This step is applied at the end of the graphics pipeline so this is purely for stylistic reasons as it won’t give you better performance. If you’re looking for to gain performance there is a resolution scale parameter in the project’s settings.
3D Shape debugger
I’ve added some C# functions to draw some 3D shape in order to help debugging. It can be used to debug shape casts or ray casts for example. You can set a color intensity higher than 1 if you want to make it emissive as it’s going through the normal pipeline.

This is how you can draw a red sphere of 0.5 radius.
void DrawShapes()
{
  Physic.Sphere sphere = new(0.5f); // Create a sphere with 0.5 of radius
  Vector3 position = new(0, 0, 0);
  Quaternion rotation = new();
  Vector4 color = new(1, 0, 0, 1);
  float life = 1.0f; // Will stay in the world for 1 second.
  float width = 1.0f; // Default tickness of 1
  Debug.DrawShape(position, rotation, sphere, color, life , width);
}
Animation Blending
The first step towards blend graphs is transition blending. This allowed me to start the base work for more complex features like 1D & 2D blend tree and animation graphs. There is now an additional transition time when switching animations. You can define the general animation transition time on the SkinnedModel component direction. You can also control the transition time per animation when playing the animation through C# code.
Animation blending with a duration of 0.6 second
UI
The UI system is now officially usable! While it’s still in its early stages and I’m not 100% satisfied with it yet, you can now create functional UI elements, and they work as expected. During the implementation, I also took the time to improve, polish, and extend the API with new features. One of the key features is the ability to define custom widgets using C#, HTML, and CSS. Any widgets you define in your C# solution can be used in any HTML file within your projects. While these custom widgets will only update when the DLL is reloaded, so real-time previews aren’t quite there yet, it’s a solid step toward achieving that functionality in the future.
World Space UI
I wanted to have world space UI inspired by games like Doom 3. Ior an immersive sim, it’s crucial to have interactive elements like computers, keypads, and screens integrated directly into the world, not just as 2D overlays.
The biggest challenge here was translating screen-space mouse coordinates to world-space and then to the UI space on the actual UI plane. It turned out to be more difficult than expected, especially since I didn’t want to limit the 3D UI to just flat planes. I wanted the freedom to place UI elements on more complex shapes, like cylinders or other 3D objects. That is not something I wanted to compromise.
I eventually found a solution that works no matter the shape that doesn’t rely on the physics engine.
You can enable this on the UIComponent by enabling Is Worldspace.
Custom widgets
Creating custom widgets in the current system is a bit clunky, but it’s functional. Here’s how it works:
- Create a new C# script that inherits from UIWidget.
- Create an HTML layout file for the custom widget.
- Add the ExternalHTML attribute to your C# class, pointing to your HTML layout file. For example:
// file: MyCustomWidget.cs
[ExternalHTML("UI/testWidget.html")]
public class ButtonWidget : UIWidget
{
  // implement custom button behavior
}
Then, your HTML layout for the widget would look like this:
// file: UI/testWidget.html
<div>
    <text>Hello From C#</text>
</div>
Finally, you can use your custom widget anywhere in your other HTML files, like this:
<ButtonWidget/> // Its the name of your class inheriting UIWidget.Improvements
While the current workflow for custom widgets works, there are some issues with reliability in the editor. The biggest problem is that you can’t know exactly what your custom widget will look like until you execute the C# code. For instance, if you define properties like size or background color in your C# script, those won’t be applied until you’re actually in a play session. This means the UI preview can be unreliable when you’re not actively playing your game.
To improve this, I’m considering changing the workflow so that you have a SetupLayout method, which will be executed whenever your DLL changes. This way, you’d get a consistent preview of your custom widgets right in the editor, without needing to run the game. Any ideas welcomed!
Showcase
Here are a couple of UI I made while testing the new system.
Main menu mockup
This is a simple test scene where I wanted to make a simple main menu for a fictional game. This was to test the hover detection and custom fonts. I’m dynamically changing the font whenever I’m hovering a button and it’s all defined in a CSS file using the :hover property.
HUD and Computers
This was a more realistic usage of the UI library. I have a screen space HUD(crosshair and interaction tooltip) and a world space computer terminal that controls various part of the scene. All the behavior of the buttons and dynamic widgets are defined in C#.
3D Nameplates
Since the UI panel also supports transparency, you can use it for in-game text overlay. In this example, I simply added a UI panel as a child of an entity.
C# improvements
The .NET API has been expanded, this doesn’t cover all the changes and new features. This is just a quick overview of the most useful features.
Scene switching
I’ve added a way to switch scene now. It’s instant and doesn’t support preloading scenes at the moment.
Scene.LoadScene("path_to_scene.scene");Ground Velocity
It’s now possible to query the ground velocity from a character controller. This is useful to do velocity transfer or making the player stick to a moving platform.
Vector3 finalVelocity = Velocity;

// Example of ground velocity transfer
if (Controller.IsOnGround())
{
    finalVelocity += Controller.GetGroundVelocity(); // Returns the velocity of the ground
}

Controller.MoveAndSlide(finalVelocity);
Improved entity accessor
You can now fetch entities using a scene path. It works for both absolute and relative paths. If you want to fetch a child of the current entity, you can simply do something like this:
GetEntity<Player>("Player"); // Will get the child named Player

GetEntity<Player>("/Entities/Player"); // Will get the entity from the root of the scene
Note the path starting with a
/means that it starts from the root of the scene
Transform access
Internally, every entity has a TransformComponent, and to access the transform you had to use the GetComponent<TransformComponent>() method every time. In practice, I found it quite tedious to use. So by default every entity will now have a member Transform which is simply a shortcut to access the component.
void override Update()
{
   // Before
   GetComponent<TransformComponent>().LocalPosition = new Vector3(0, 10, 0);

   // Now
   Transform.LocalPosition = new Vector3(0, 10, 0);
}
Project Showcase
Here are some random clips and screenshots of the various projects I've worked on in the past few weeks.
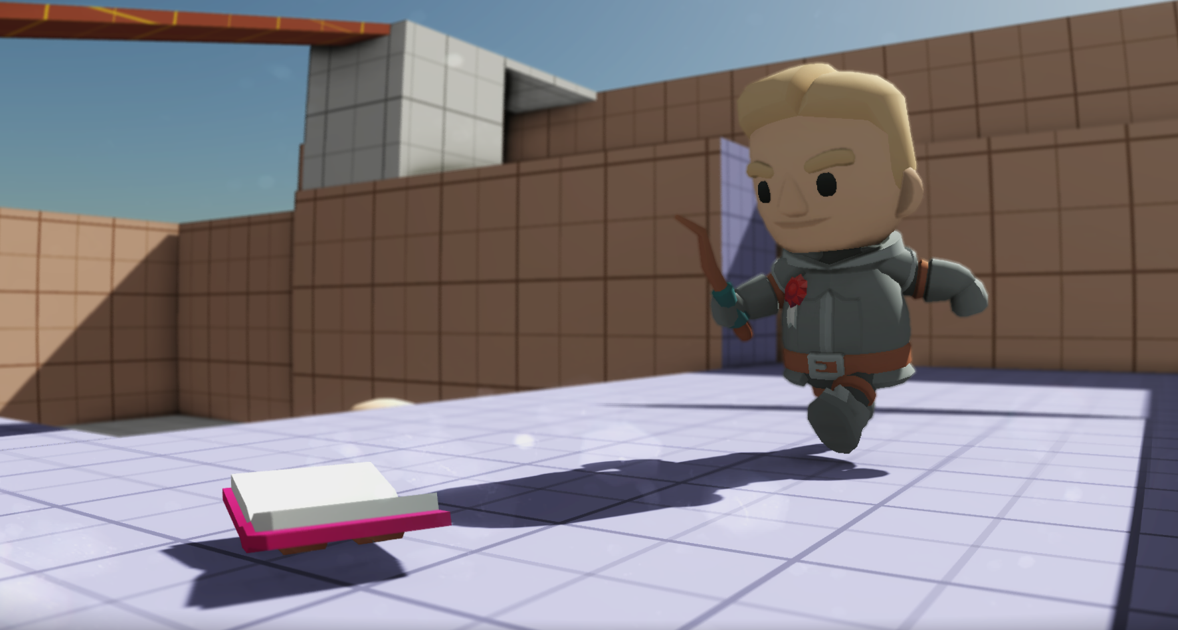
Third person character controller
This project is a small demo I'm working one that implements a third person character controller along with a spring arm camera control.
UI Hot-Reload
This is a small clip showing what the UI workflow looks like with the live reloading.

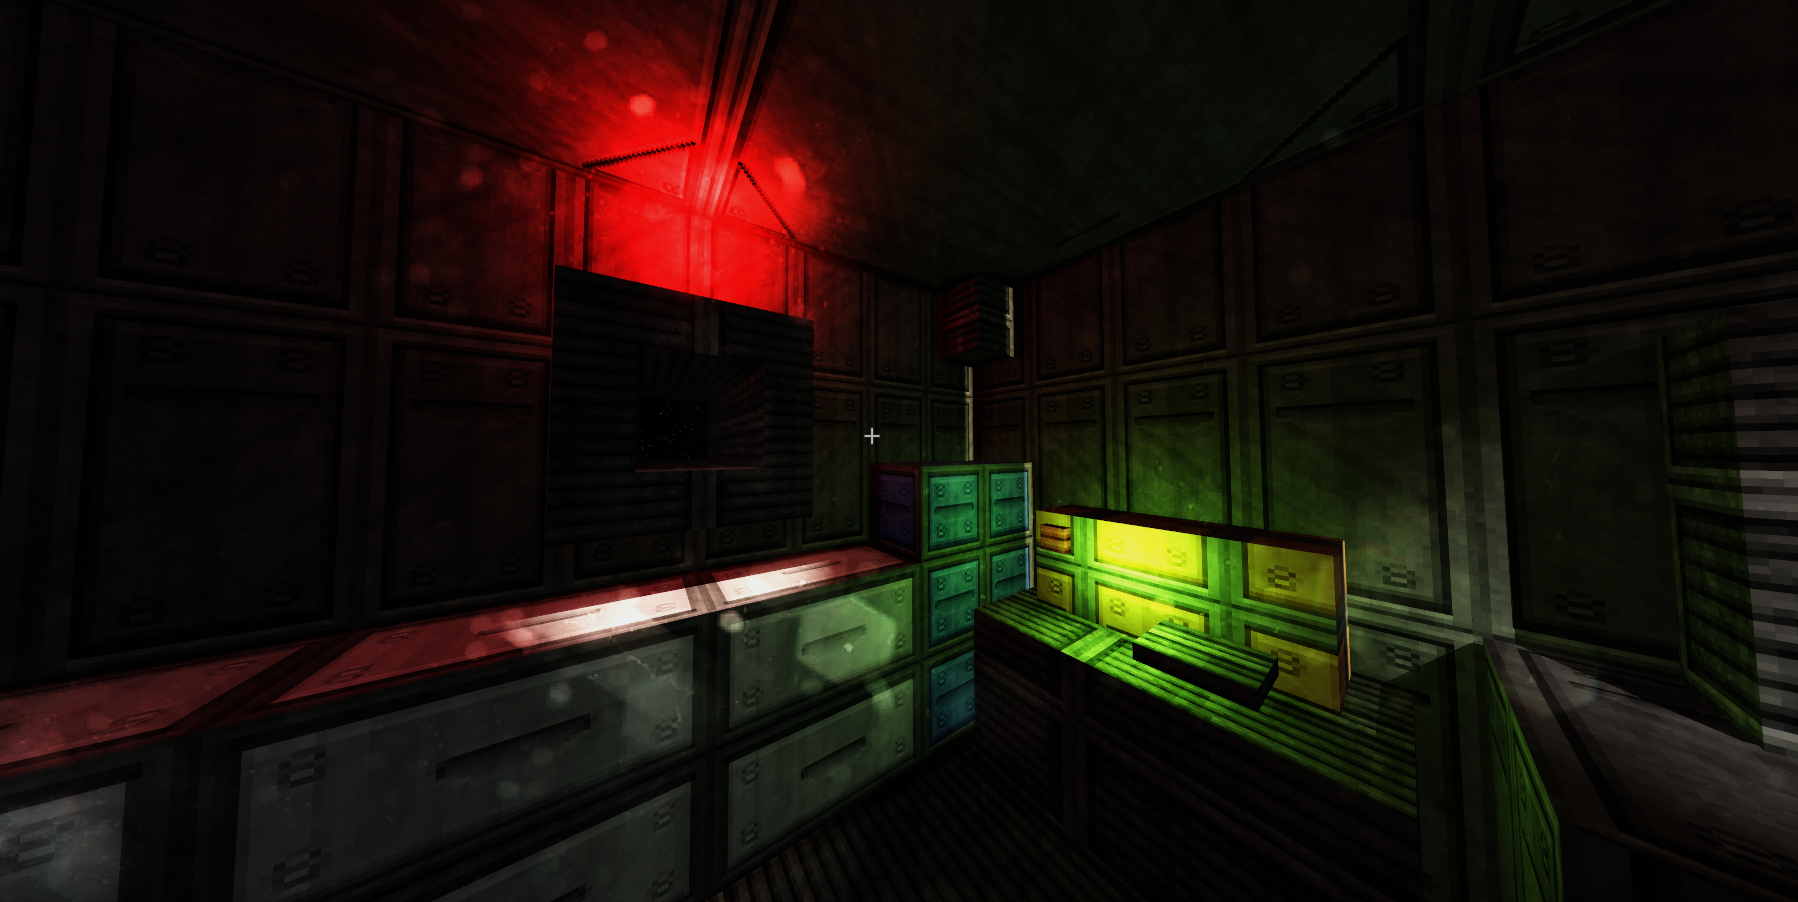
Infamous Quake Door
I recreated a trigger & door system inspired by Quake. I made the door with two groups of brush that have point entities as target. When the trigger activates the delay(4s), the two door piece receive a signal and move to their target position.