

Mental aspect
I’ve been thinking about this port for a few years and every time I thought about it, I started having cold sweats over the amount of work it would entail. When I say work, I don’t just mean the programming, but also the mental effort. Seeing a project you’ve worked on for five years reduced from a full-fledged editor to a blank screen is daunting. The fear of the unknown, not knowing if your architecture is compatible or even if you have the capacity of completing that work. So I waited and let the idea simmer until I felt unfazed by the idea and just accepted that it needed to be done. That’s when you know you are ready.
Being ready
Every time I publish a new blog post, I feel good and proud. In a way, these updates are like finishing a sprint; they represent a development cycle for me. It gives me a moment to rest and recharge before diving back into the work.
The last update was the biggest so far, and I even left many things out of the article because it was simply too big. I figured it was a nice time to release it as the holidays were coming up and I needed some time to recharge my batteries a little bit. I spent time with my family, focused on myself and made sure I started the year right.
I felt refreshed and I started reading up Vulkan. I was mentally ready to port the biggest codebase I had.
Renovation
A good analogy for this type of work is renovation. If you think of your codebase as a house, the structure of the building represents your game engine, while the renderer is like the interior design and aesthetics. Then it becomes pretty straightforward to see what’s ahead of you.
OpenGL and Vulkan have very little in common, so I decided not to support both at the same time. It was going to be a complete departure from OpenGL
The Teardown
The first step in renovating your kitchen is to strip everything down to the bare structure—until all that’s left is the structure.
Similarly, the first step in this port was to remove all the existing rendering code. Every piece of code that relied on OpenGL had to be commented out or removed entirely. I had GL calls in many places I shouldn’t have and this was eye opening. It made me realize that this was a much needed change. OpenGL calls were spread out everywhere.
It was also a good trip down memory lane, revisiting code I hadn’t touched in years. All in all, it took around an evening to get to a headless version of Nuake. This process also confirmed that a headless Nuake is possible, which will be useful for dedicated servers down the line.
At this point, the kitchen is fully stripped down. The engine is loading up, and all we have is a command line terminal. This is the scariest point. All your work is…. gone. But if you change your mindset a little, you see the potential of your new renovated kitchen! Blank slate, baby! 💃
Planification
The planning was done beforehand and I knew generally what I wanted to use for the renderer. Admittedly, my knowledge of Vulkan at the time was very minimal. I was starting from scratch except for some resources, libraries & previous failed attempts.
Here is what I decided on using:
- VkGuide 2.0 (great guide)
- VMA for memory allocation
- VkBootstrap for context initialization
- DXC for HLSL support
- Volk for loading Vulkan function pointers
As stated previously, there was also a lot of mental preparation before hand. It’s important to take you your take to really learn what you are doing rather than fall in the copy-paste trap. This is a mistake that a lot of beginners do when getting into graphics programming and they miss out on important knowledge that will eventually catch up to them.
It’s also important to have a real purpose of understanding the process. If you are too focused on getting to the finish line, you will not get there. You have to be present mentally at every step of the way. Don’t expect to run if you can’t walk!
Preparation
Now that everything was in place, it was time to lay down the foundation for the renderer. This means setting up everything we needed to get started on the renderer.
- Creating the window
- Creating the swap chain
- Our first pipeline
- Clear color
- Rendering imgui
- Displaying the imgui demo window
- Displaying our editor
- Fixing textures & fonts
- Rendering our first triangle to a texture
- Displaying that texture in the viewport panel
Execution
This next section is an abridged version of the actual process, skipping over some bugs and head scratching. It will also most probably give the impression that everything went very smooth(It certainly wasn’t!). This process was largely learning how to use the validation layer, understanding new concepts I wasn’t familiar and most importantly producing some god awful code.
But that’s perfectly okay, you have to be easy on yourself when learning new concepts. You can’t expect to write perfect code and understanding everything right away.
My mantra has always been to get it working first, then refined afterwards. Every time I’ve tried abstracting something while implementing it, I end up missing something I didn’t account for and have to do even more work to account for that edge case.
The Editor
The first step was setting up the window context, replacing everything previously done with OpenGL with a Vulkan context, and setting up the swap chain. While this wasn’t something particularly difficult, it was something I hadn’t done before, as the swap chain was handled for me. Nonetheless, I got from nothing to a window with a clear color pretty smoothly.
Then I had to get my feet feet with the pipeline system. The easiest one to set up is a compute pipeline as it only has one stage and has less boilerplate code. This was a great way to get introduced to those new concepts as it allows you to render to a texture a lot faster.
 Setting up ImGUI
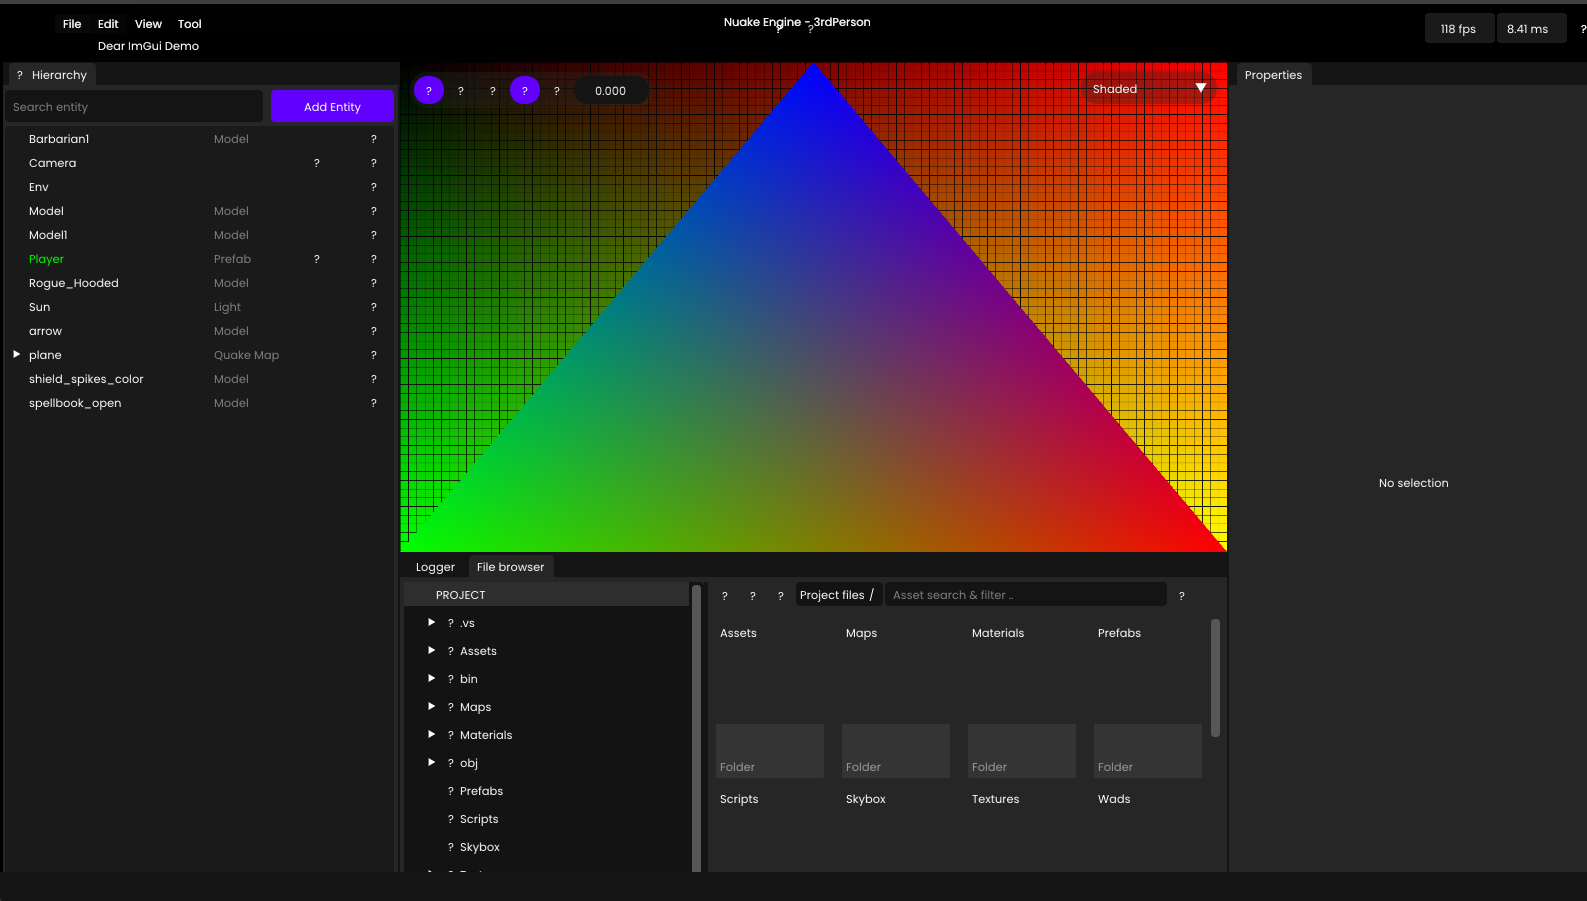
After setting up ImGui to use the vulkan back-end instead of the OpenGL one, I followed VkGuide and was able to render the ImGui demo window. This might not seem like a lot, but now technically all I had to do was draw my editor in that same “entry point”.
It was almost that simple, but remember what I said earlier? I had OpenGL code spread out throughout my ImGui code. Mainly for rendering thumbnails and previews. So I commented these out and behold:
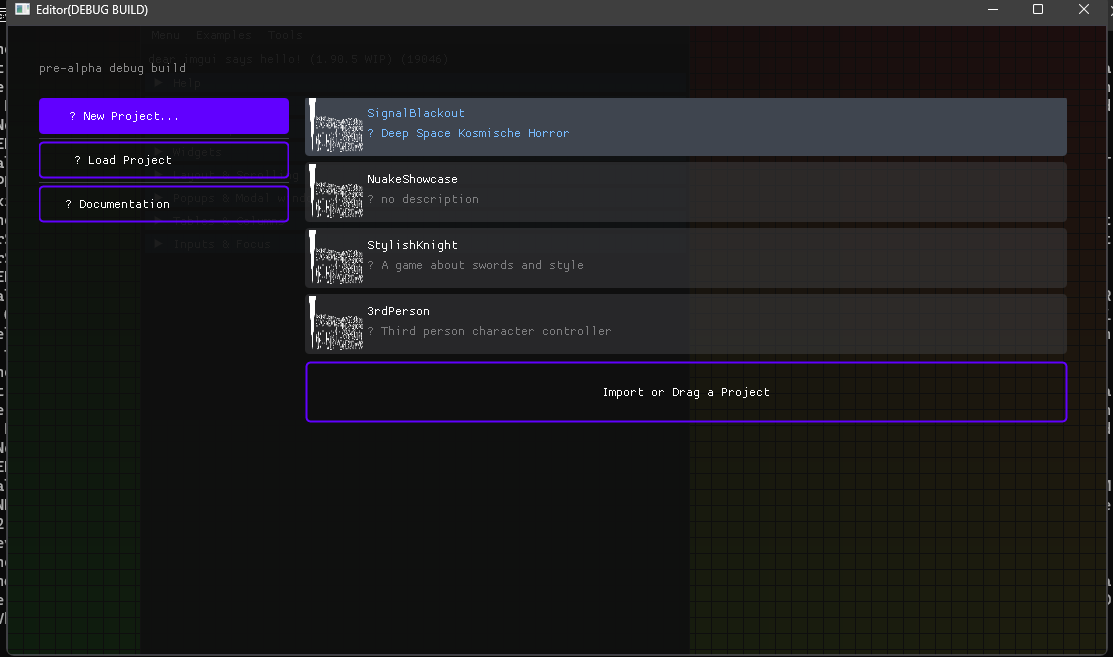 Okay, now let’s try loading a project just for fun.
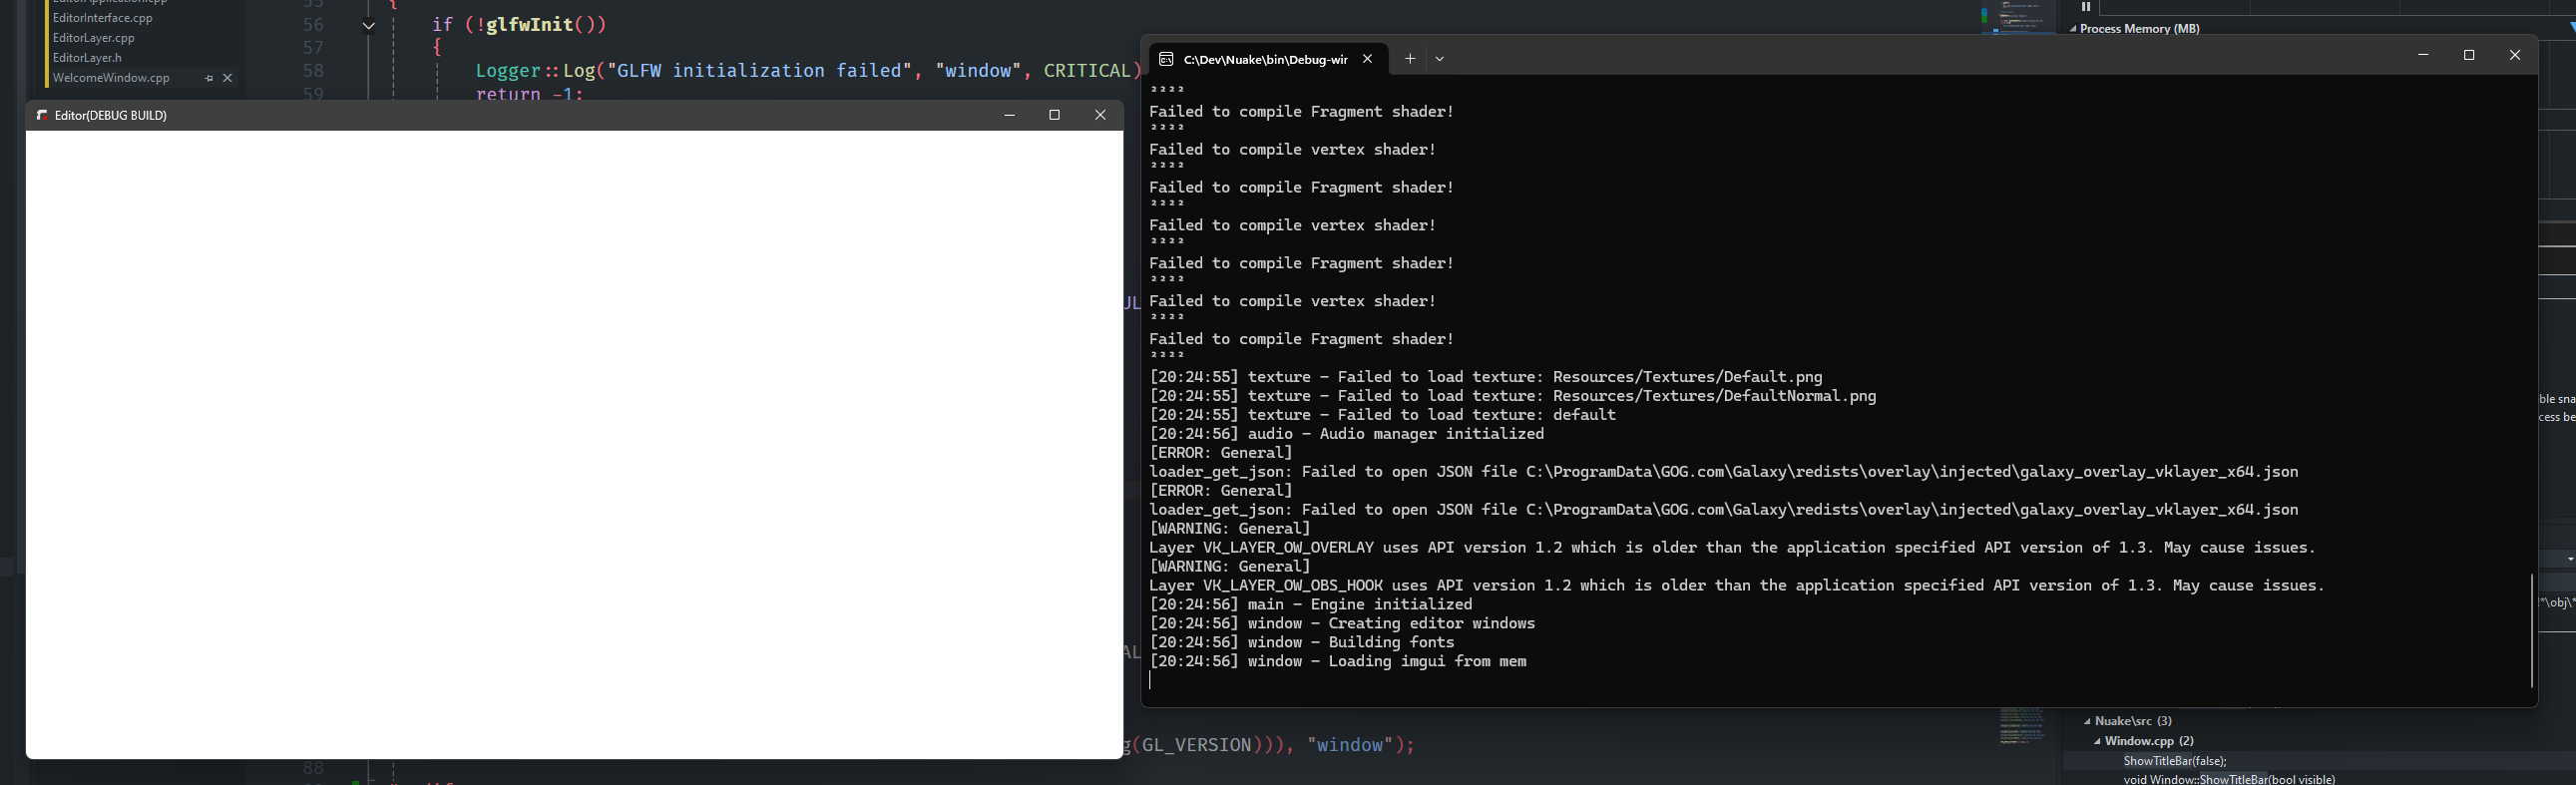
Whew, there’s a lot going wrong here, but nonetheless, this was a huuuuge step forward. Ever wondered what Nuake looks like without the pretty make-up? Well here it is. No docking, no custom font, no images, no custom title bar, just plain, raw imgui. At that point, I felt a little bit more confident to port this thing.
The reason the font atlas is plastered all over the screen is because when imgui receives an invalid descriptor set to draw an image(equivalent of texture ID with OpenGL) it will render the first texture it has, which is the font atlas.
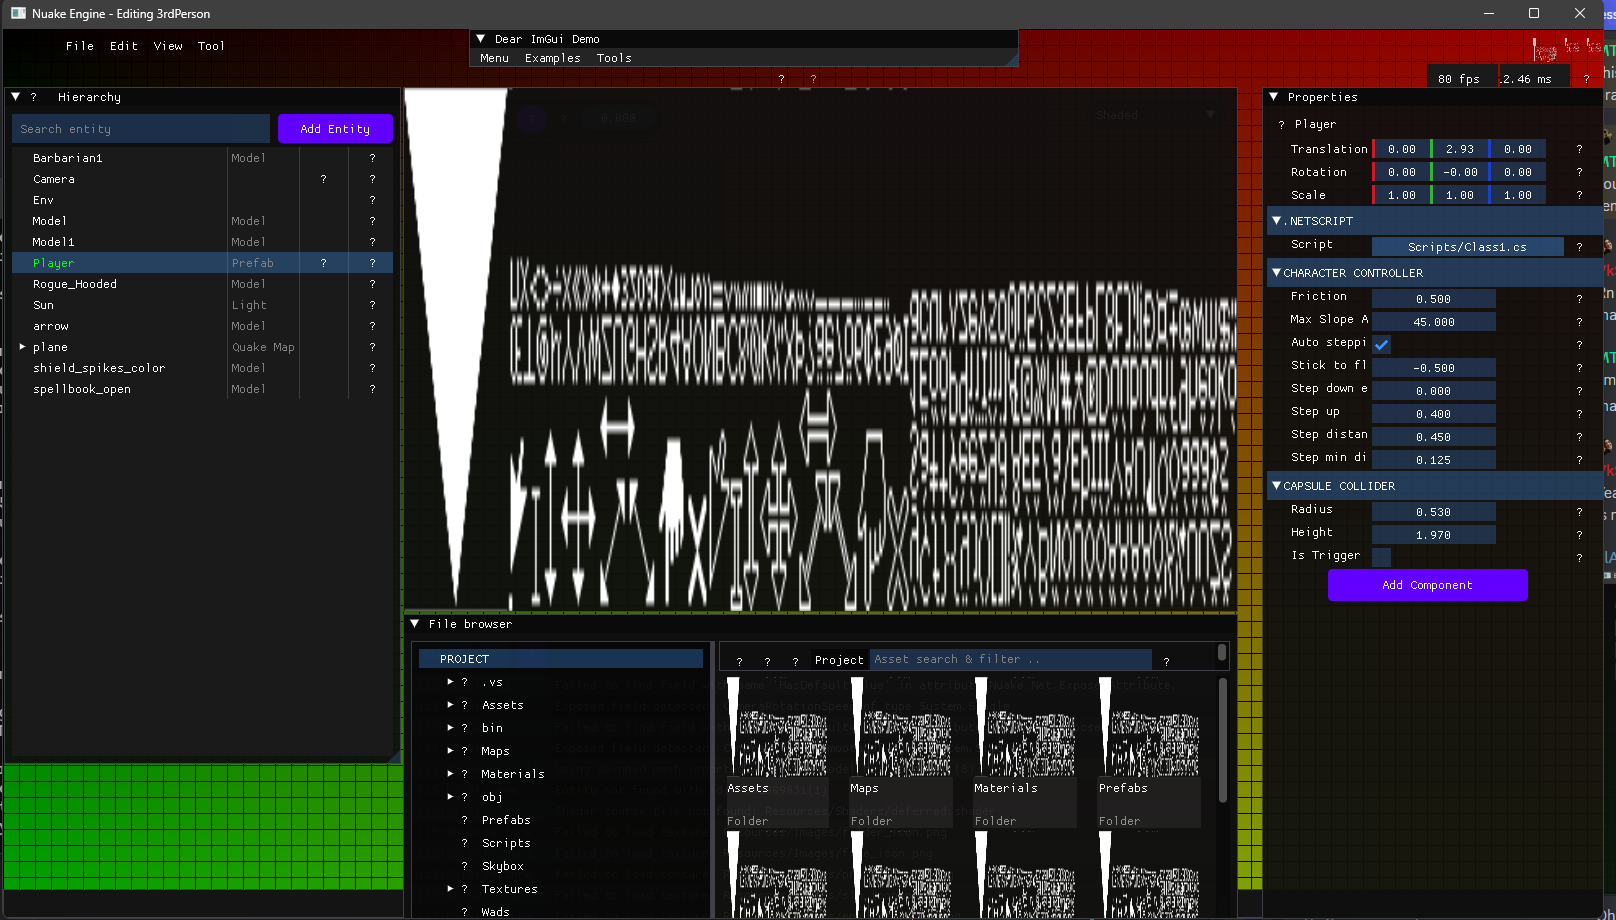
Fixing things up
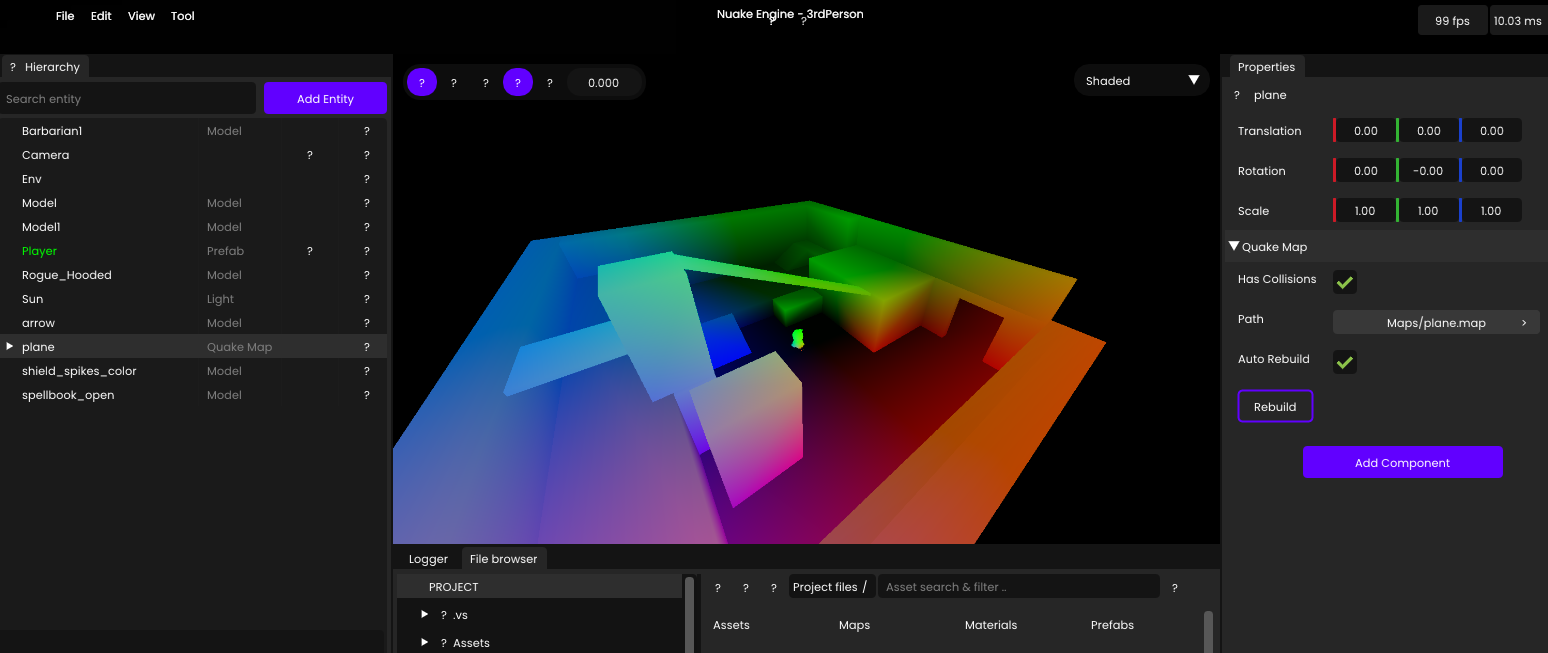
The first thing I did was figuring out how to make a descriptor set for ImGui. After that, all I had to do was use my compute shader’s color attachment and display it in the viewport, rather than copying it directly to the swap chain. Oh and also fixing the docking. With little work, this is what the editor looked like.
Again, a huge step forward! We are finally starting to look like a proper editor and not some kind of migraine simulator.
Hello Triangle
I was getting a little impatient there and decided it was time to draw my first triangle and learn about the graphics pipeline. At that point, I had almost no abstraction over Vulkan and it was all raw code. It was still manageable, but I could feel the codebase getting messier and messier. Nonetheless, I didn't trust myself enough to start abstracting. After all, I hadn’t even rendered a single triangle yet.
Now that I had a vertex buffer, a vertex shader, and a fragment shader. I went ahead and decided to make a new VkMesh class that would replace my original OpenGL Mesh object. The Mesh class was used in a lot of places in the game engine. So instead of just replacing it, I took a composition approach and adding a VkMesh in the Meshclass. This isn't ideal, but it’s a temporary solution. I’ll refactor it later to use a resource handle.
With almost no changes to the codebase, I was able to load all the meshes in a scene and render them to my render target. I also added a buffer to store the camera's view/projection matrix. For now, everything is rendered at the world origin.
At this point, it had only been around three days since I started the port, and this was a huge confidence boost. I knew I could do it. With a bit more work, I created a buffer to hold my model matrices. By using a push constant index, I could look up the correct transform in that buffer directly from my vertex shader.
![]()
Little did I know, this was my first introduction to the bindless methodology—bind once, then index into the buffer. This approach significantly reduces the amount of binding required and makes dealing with descriptors much easier.
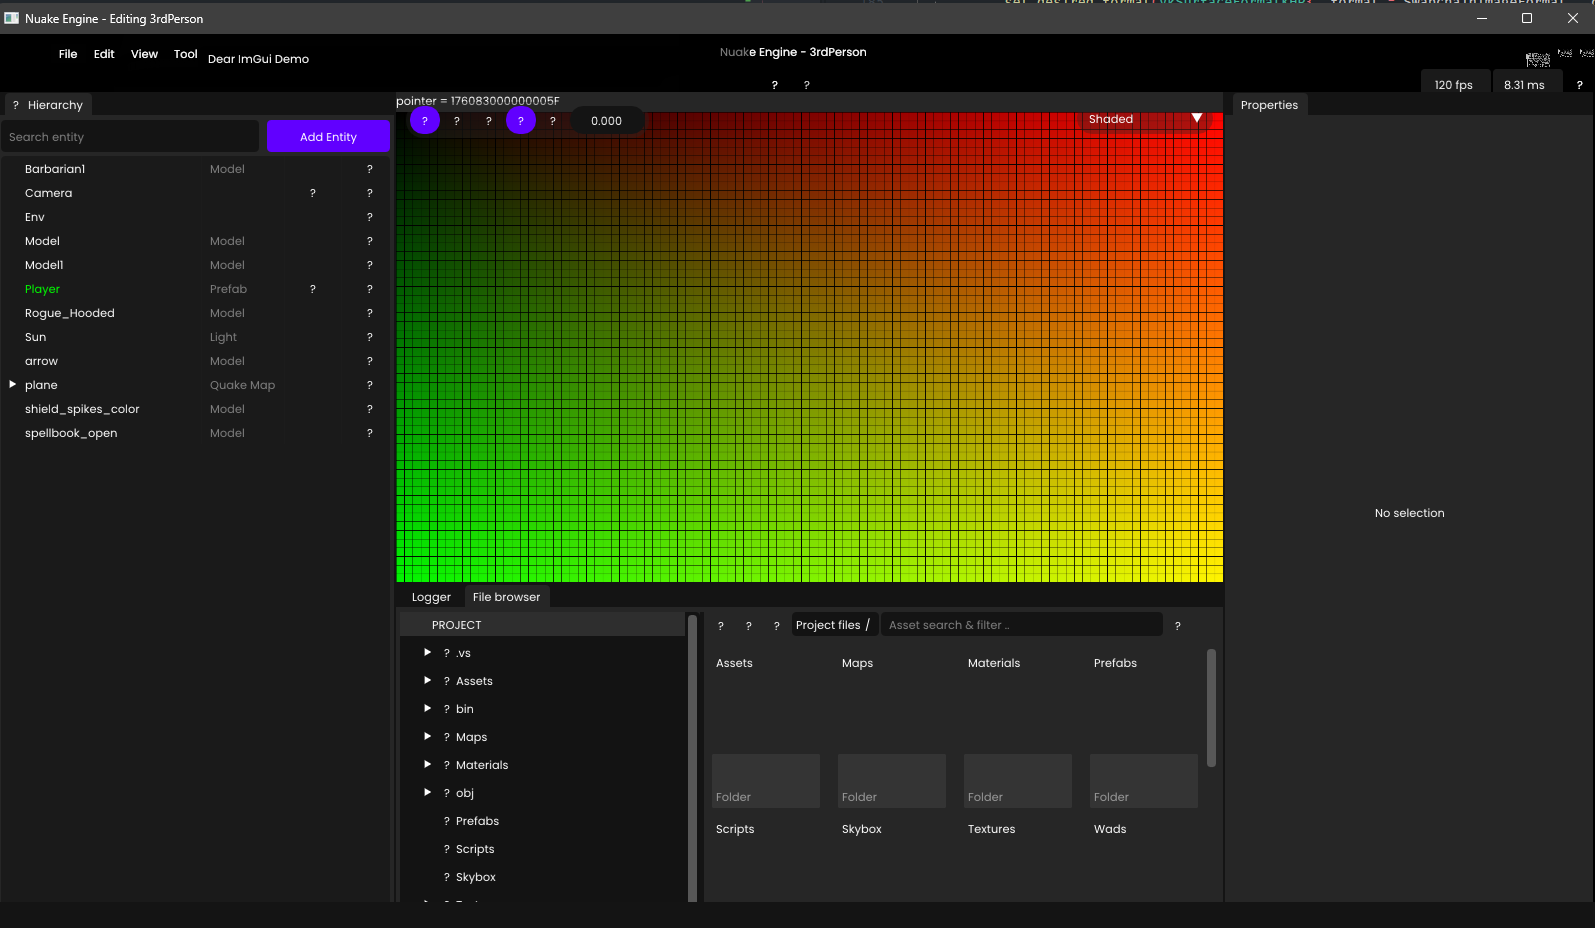
Title bar, icons & images
I wanted the sexy editor back, so I focused on the finishing touches like custom fonts, icons, and images. I also enabled the custom title bar at the same time.
This felt really good. The editor was in a healthy state, and I had a render target. Now, it was time to dive into the real work: the scene renderer.
Closing words
The goal of these updates isn't to show you how to build a renderer—mine is far from the best or a perfect example. I simply enjoy making cool stuff, and I'm working on this project in my free time. My goal is more to give you an insight of what’s the process of porting a five-year-old codebase, with hundreds of thousands (maybe a million a this point) of lines of code, from OpenGL to Vulkan.
I remember trying to read about other people's experiences with this task, but very few shared it on a personal level—most were focused on the higher level, technical side. The mental aspect of programming is crucial, especially when it comes to long-term projects. Don’t forget: it’s a marathon, not a sprint!
On the menu next update
I learned from the last update and won't be making a massive blog post covering everything. As it gets harder and harder to keep up with. I will end this blog post here as Part 1. The next update will dive into the progress I've made on the scene renderer (more than expected!) and will go much deeper. I will be talking about bindless, render pass abstraction, shading, and of course architecture.
See you in the next update!
Antoine